


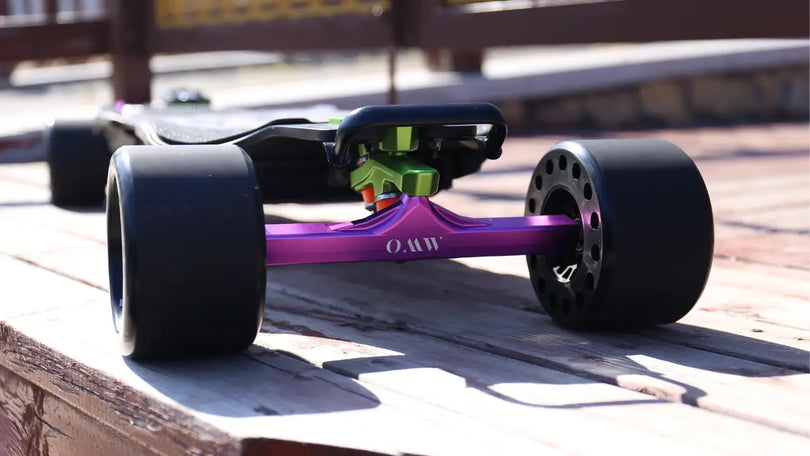
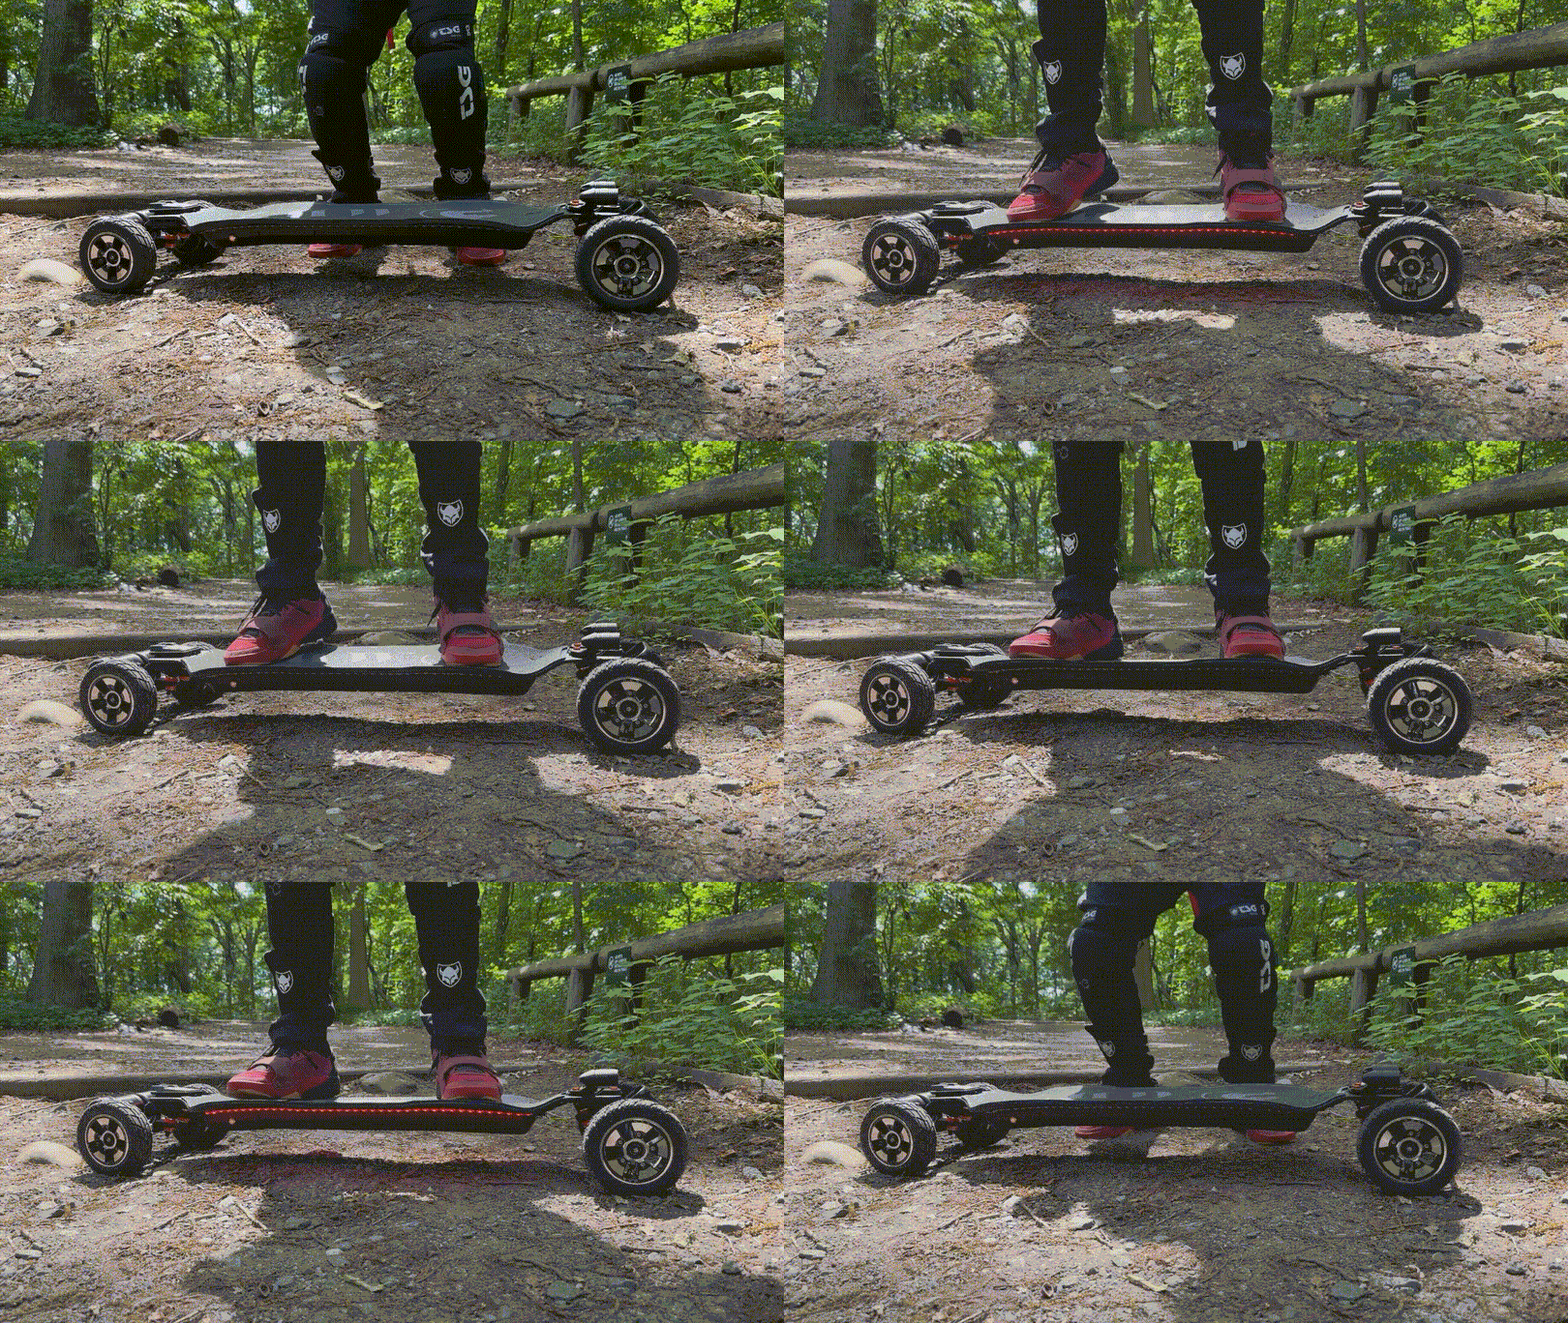

Choose the route first, then prove the parts fit
A DIY electric skateboard wheel should match your road surface and your drivetrain. Diameter, tread and a pulley tooth count are not enough to establish fit. Check the wheel core or hub, axle and bearings, pulley interface, belt, motor-mount adjustment and clearance before buying a set.
This guide is for builders selecting parts, not a claim that every OMW wheel fits every DIY board. For a complete OMW board, use the OMW model-specific wheel and setup guide. Do not copy a kit from another model just because both boards use the same wheel diameter.
Contents
- Choose for the surface and maintenance you can manage
- Seven fit checks before ordering
- Diameter and gearing: what actually changes
- Use OMW configurations as examples, not universal recipes
- Checks after installation
- What to send OMW for a compatibility check
Choose for the surface and maintenance you can manage
| Wheel construction | Starting use case | Ownership tradeoff |
|---|---|---|
| Urethane street wheel | Mostly smooth, dry pavement; a direct road feel | No tire-pressure checks, but inspect tread, bearings and damage. Rough surfaces still transmit vibration. |
| Pneumatic tire | Broken pavement and mixed routes where an air cushion is useful | Pressure checks, leaks and tire or tube service become part of ownership. |
| Airless wheel | A route where you want to avoid an inflatable tire | Construction varies. Check the actual product rather than assuming airless means comfortable, efficient or maintenance-free. |
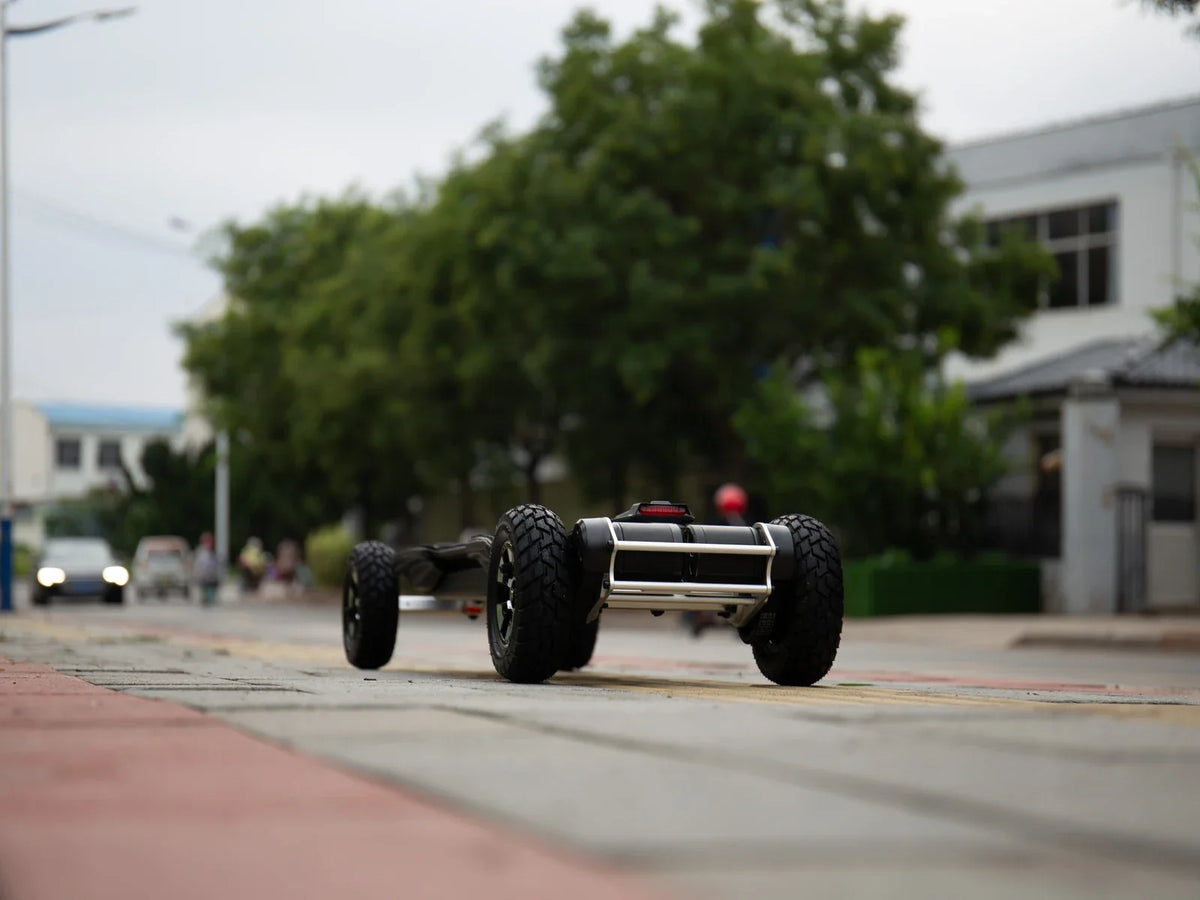
“All-terrain” describes an intended use, not one wheel construction. OMW's 150 mm and 175 mm rubber pneumatic tires are air-filled; the 150 mm tire is not an airless hybrid wheel. Tread does not make a wet route safe. OMW does not recommend riding in rain or on wet roads.
For urethane wheels, hardness is only one input. Wheel shape, width, hollow structure, compound and load also affect feel. Do not turn a durometer number into a guarantee of grip, range or safe wet-weather riding.
Seven fit checks before ordering
- Axle and bearing fit: identify the axle diameter, usable axle length, bearing size, spacers and washers. The wheel must rotate freely with the correct hardware, while the axle nut remains securely engaged.
- Wheel core or tire-and-hub fit: a driven street wheel needs the matching pulley interface. A replacement tire needs the correct hub and tire-seat geometry. A tire alone is not a complete wheel kit.
- Pulley mounting and offset: confirm how the pulley attaches and whether it places the belt in line with the motor pulley. Matching tooth counts do not prove that two pulleys are interchangeable.
- Belt specification: confirm length, tooth pitch, width and the motor mount's adjustment range. Do not select a belt from length alone.
- Physical clearance: check deck, truck, motor, enclosure and belt-cover clearance through the board's usable steering movement and under rider load. A wheel that spins freely on an unloaded board may still contact another part during a turn.
- Drivetrain-specific requirements: hub-motor sleeves, direct-drive adapters and gear-drive interfaces are not universal street-wheel mounts. Use the instructions for the exact system.
- Electronic settings: use the manufacturer's wheel-diameter and gearing settings where applicable. Do not assume an unchanged speed or distance display is accurate after a configuration change.
If any of these checks fails, stop and resolve the mismatch. Tightening the trucks or adding a riser is not a universal fix for an incompatible wheel. Use the OMW belt identification and setup guide for OMW belt combinations, rather than a generic belt-deflection measurement.
Diameter and gearing: what actually changes
At the same wheel rotational speed, a larger diameter travels farther per revolution. That is a geometric relationship, not a promise of higher usable speed. With other factors unchanged, increasing diameter reduces the driving force available at the road for a given wheel torque. Motor capability, gearing, load and controller behavior still determine what the board can deliver.
A larger driven-wheel pulley increases the motor-to-wheel reduction. That can recover mechanical advantage, with a theoretical top-speed tradeoff at the same motor speed. It also changes belt and clearance requirements. Choose wheel and gearing together, then check the complete mechanical fit.
Do not use wheel size to predict a fixed percentage of range gain or loss. Tire pressure, construction, load, surface, speed and gearing can change the result. OMW's real-world range planning guide separates route estimates from configuration-specific tests.
Use OMW configurations as examples, not universal recipes
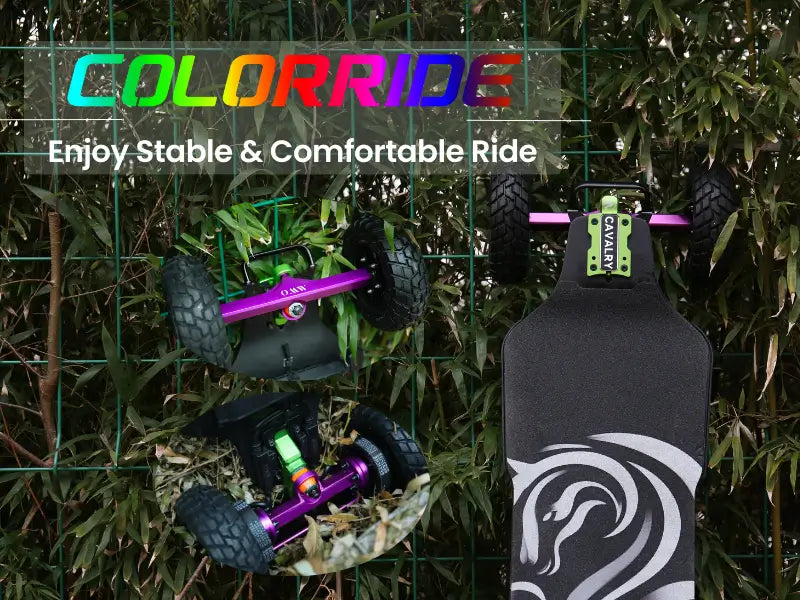
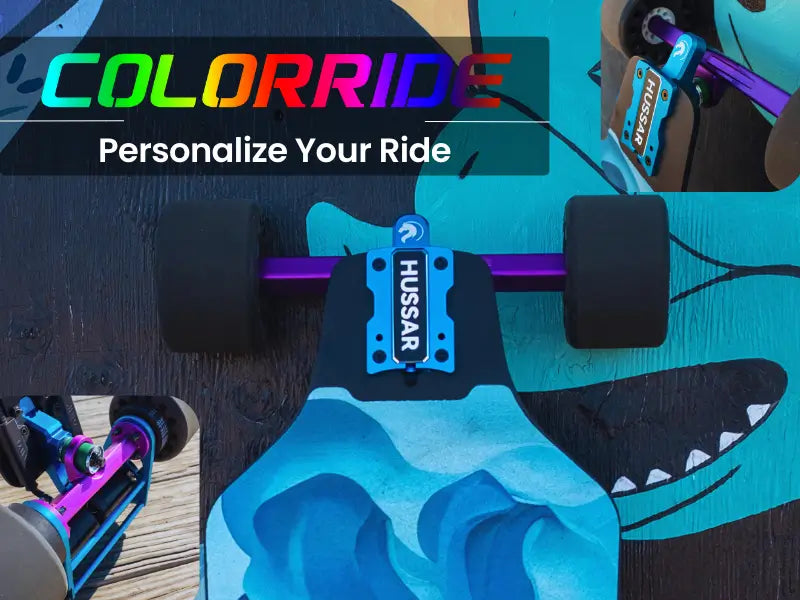
On OMW Cavalry and Hussar, the current 150 mm and 175 mm pneumatic configurations use a 55T wheel pulley with a 335-5M belt. The optional 60T metal acceleration configuration uses a 355-5M belt. With a 15T motor pulley, the respective reduction ratios are approximately 3.67 and 4.00.
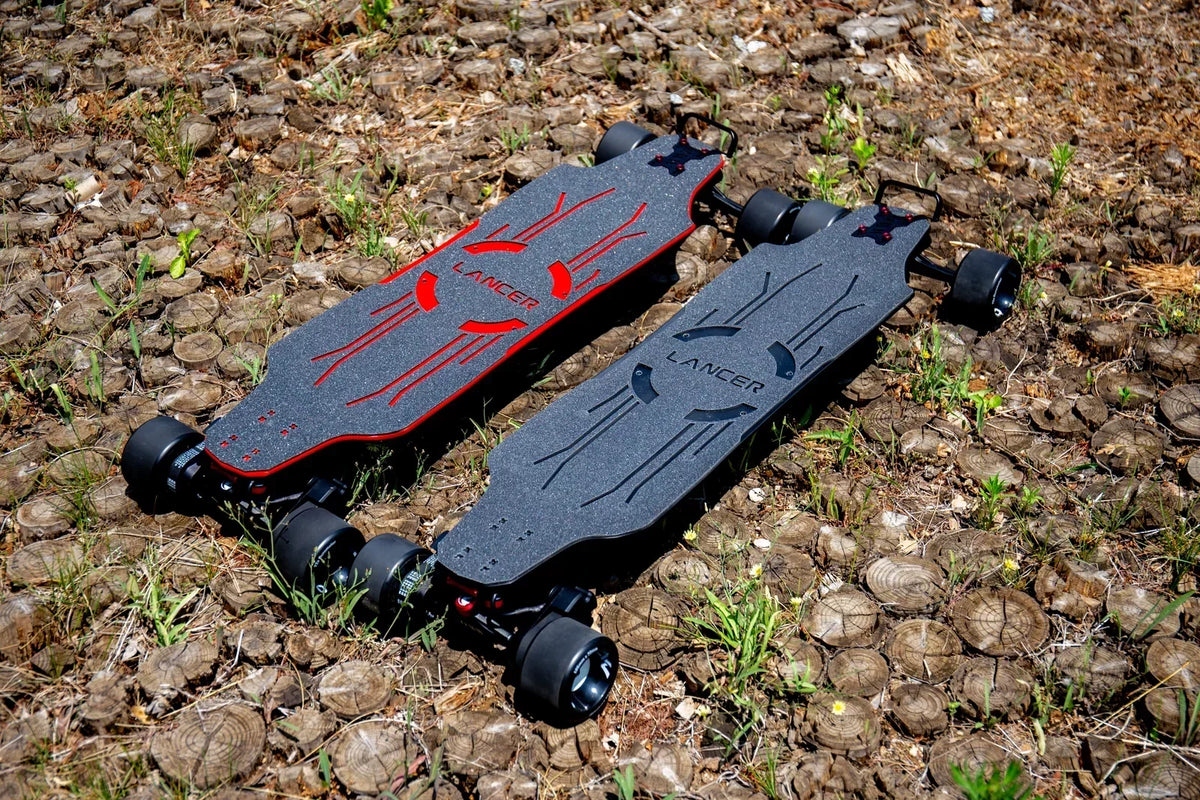
Those combinations apply to the specified Cavalry/Hussar configurations. They are not instructions for Lancer, Gladius or another brand's DIY board. Lancer has its own drivetrain parts, while Gladius does not support MAD MAX 125 mm wheels. Check the model-specific guide before choosing a wheel kit.
OMW's 150 mm and 175 mm replacement pneumatic tires are designed for most electric-skateboard hubs that are 50 mm wide. Width alone does not confirm fit: the tire-seat shape and mounting hardware can differ. For a non-OMW hub, supply its dimensions, markings and photographs before treating an OMW tire as compatible.
Checks after installation
Follow the instructions supplied with the exact wheel, hub and drivetrain. Check fasteners, bearing spacers, free wheel rotation, pulley alignment, belt condition and clearance. Use the prescribed tire pressure for an inflatable tire; a value for a different tire or board is not a substitute.
Before returning to your normal route, test gentle starts, turns and progressive braking at low speed on dry, flat, traffic-free pavement. Stop if a wheel rubs, a belt skips, the board pulls unexpectedly, vibration appears or braking feels different. Inspect the setup before riding again. Do not begin with a hill or a high-speed test.
What to send OMW for a compatibility check
Before ordering parts, email sales@omwboards.com with:
- The exact board and drivetrain, including whether it is a DIY build.
- Current and proposed wheel or tire markings.
- Axle, bearing and hub dimensions, with clear photographs.
- Motor and wheel pulley tooth counts, pulley interfaces and belt markings.
- Photographs showing the motor mount, belt line and deck clearance.
- Your usual road surface, rider-plus-carried load and reason for changing wheels.
Ask which parts must change together and which settings must be updated. A photograph and a belt marking are more useful than “Will a bigger wheel fit?”