


Short answer: Electric skateboard hill climbing depends on the complete system: slope length and grade, rider-plus-board weight, wheel diameter, pulley ratio, battery state, surface grip, temperature and riding technique. A board specification can tell you what the drivetrain was designed to handle, but it cannot guarantee the same result on every hill. Inspect the route, start with a gentle slope, keep a battery reserve and make sure you can control the descent before you commit to the climb.

Contents
- What hill grade means
- Seven factors that change climbing performance
- How wheels and gearing affect hills
- How to assess a hill before riding
- Uphill riding technique
- Plan the descent before the climb
- OMW setup examples
- Frequently asked questions
What does a 10%, 20% or 40% hill grade mean?
Hill grade is rise divided by horizontal distance, multiplied by 100. A 10% grade rises 10 meters for every 100 meters of horizontal travel. It is not the same as a 10-degree angle. Percent grade increases faster than the angle number, so comparing a percentage from one source with degrees from another can be misleading.
Grade alone also leaves out an important variable: length. A short ramp and a long mountain road may share the same maximum grade, but the longer climb keeps the motors, controller and battery under load for much more time. Treat a brief product test, a map estimate and a sustained real-world climb as different situations.
Seven factors that change electric skateboard hill climbing
- Grade and duration. A steeper or longer climb demands more continuous torque and creates more heat. Short flatter sections can give the system time to recover; an uninterrupted climb does not.
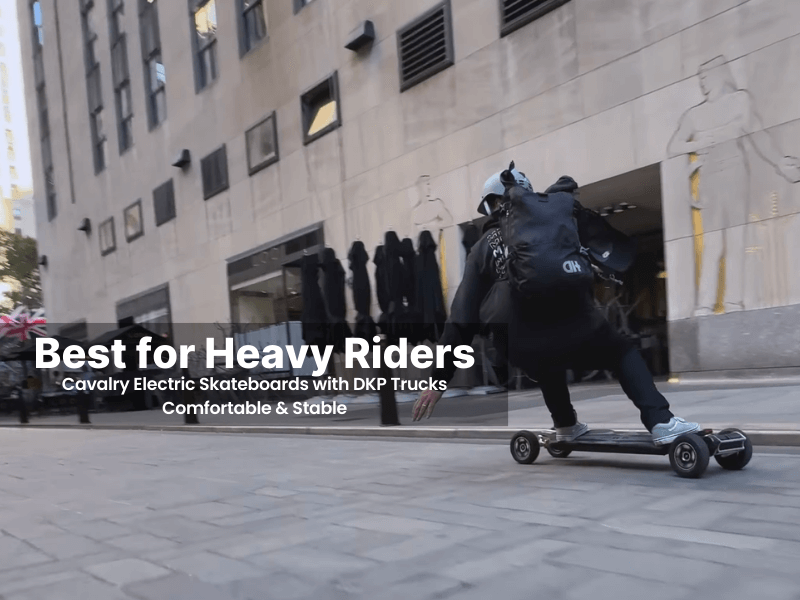
- Combined mass. Rider, board, backpack and cargo all have to move uphill. More total mass increases the load, even when two riders use the same board and route.
- Battery state and temperature. Starting a demanding climb with a low battery leaves less performance and less return-trip margin. Cold conditions can also reduce available battery performance.
- Wheel diameter. Larger wheels improve obstacle clearance and rollover, but they change the effective gearing. A larger wheel travels farther per wheel revolution, which can reduce mechanical advantage unless the pulley setup is matched to it.
- Wheel pulley ratio. A larger wheel pulley raises the drive ratio and can improve low-speed mechanical advantage. The tradeoff is usually less theoretical top-end speed for the same motor speed.
- Surface and traction. Dry, clean pavement is more predictable than dust, loose gravel, wet leaves or damp paint lines. Available motor torque is useful only while the tires can transfer it to the ground.
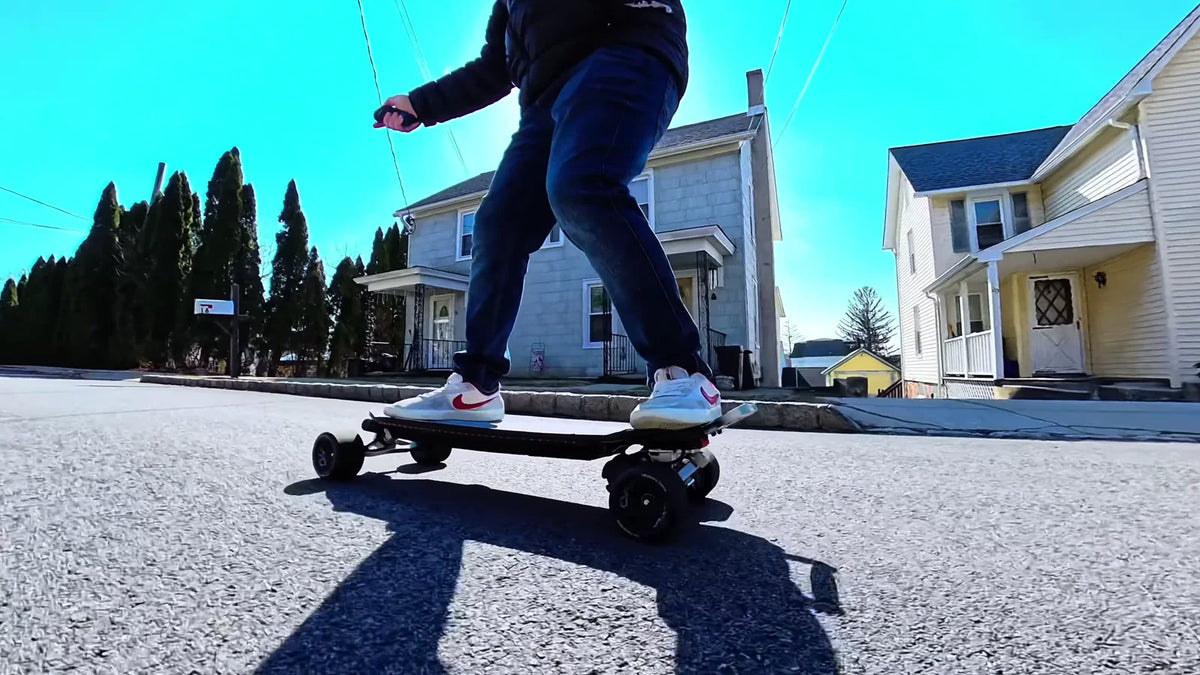
- Rider input and speed. Smooth throttle helps the board maintain traction and reduces sudden load changes. Repeated full-throttle launches or forcing speed on a long steep grade can create unnecessary heat.

How wheels and gearing affect hills
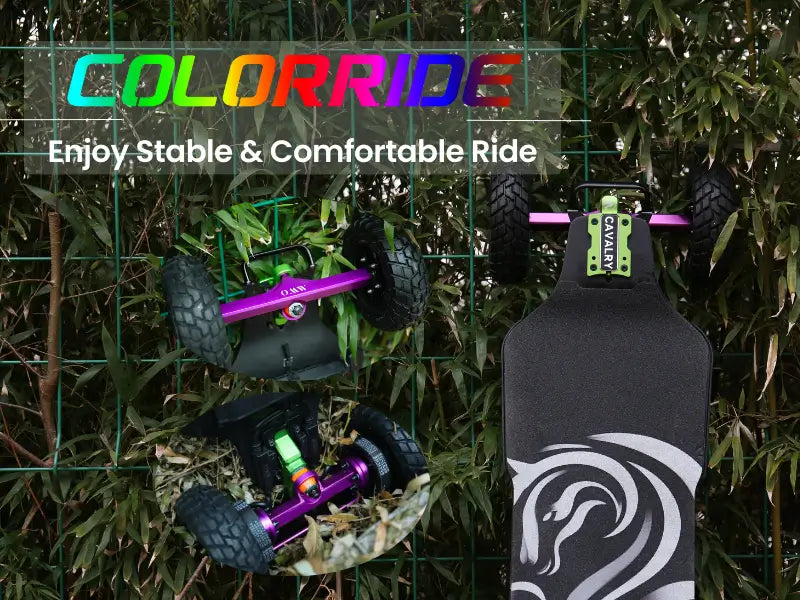
Wheel choice is a route decision, not a simple “bigger is stronger” rule. Street wheels can feel direct and efficient on clean pavement. Pneumatic tires add compliance and clearance on broken roads, but they require correct pressure and can add rolling resistance. Read the OMW electric skateboard wheel guide for the full comparison.
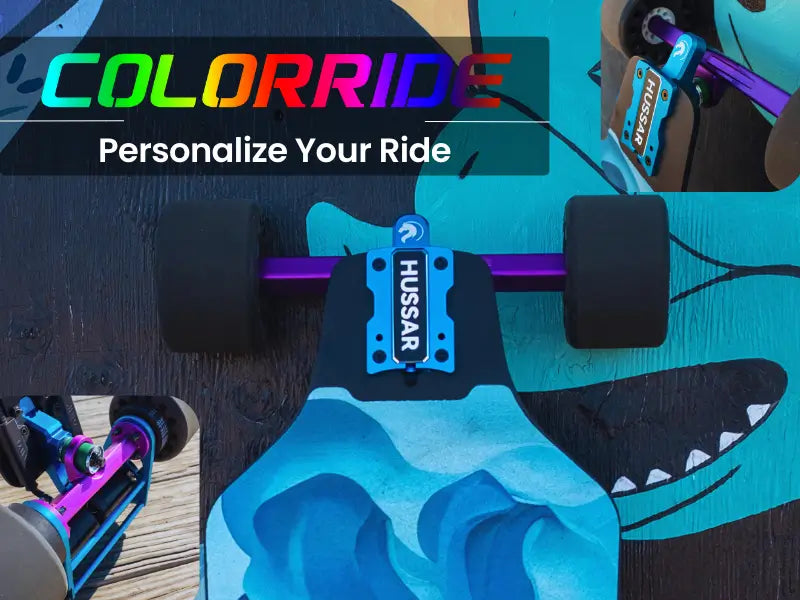
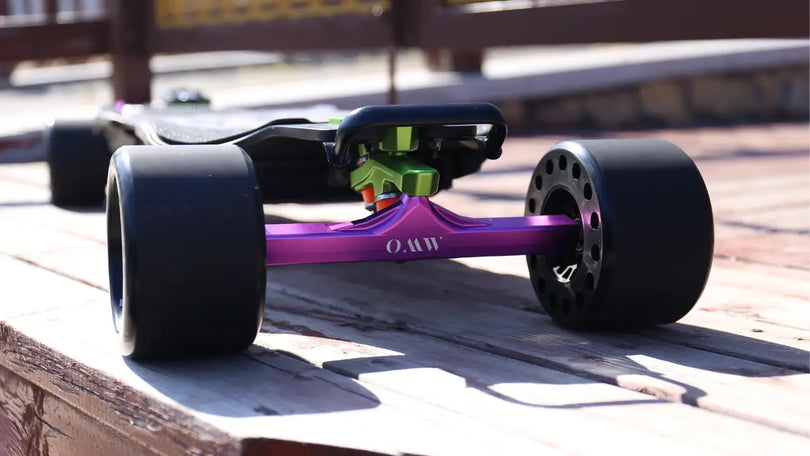
The wheel pulley and belt must match the wheel and board. On Cavalry and Hussar, the current 150 mm and 175 mm pneumatic configurations use a 55T wheel pulley with a 335-5M belt. The optional 60T metal acceleration setup uses a 355-5M belt. With the 15T motor pulley, those combinations produce drive ratios of approximately 3.67 and 4.00.
| Setup on Cavalry or Hussar | Drive ratio | What changes | What to check |
|---|---|---|---|
| 55T wheel pulley / 15T motor pulley | 3.67 | Standard pneumatic gearing | 335-5M belt, correct wheel setting and free rotation |
| 60T wheel pulley / 15T motor pulley | 4.00 | More low-speed mechanical advantage, with a top-end tradeoff | 355-5M belt, compatible metal pulley and correct settings |
Do not install a different pulley by tooth count alone. Belt length, hub, wheel, motor mount, cover clearance and electronic settings must work together. The OMW belt size guide explains how to identify and match the drivetrain parts.
How to assess a hill before riding
Walk or slowly inspect an unfamiliar hill before testing it. A safe assessment includes both the uphill line and the route back down.
- Surface: look for water, sand, gravel, leaves, potholes, painted markings and broken edges.
- Visibility: avoid blind corners, hidden driveways and crests where you cannot see traffic or pedestrians.
- Runout: identify a flat or gently sloped area where you can slow, turn around or step off.
- Battery: leave enough reserve for the climb, the return route and unexpected detours.
- Board condition: inspect tires or wheels, pressure, belts, pulleys, fasteners, trucks and remote connection.
- Rider readiness: wear a properly fitted helmet and suitable protective equipment, and do not use a hill as your first braking practice area.
If the route is wet, loose, crowded or steeper than your practiced braking ability, choose another route. OMW does not recommend riding in rain or on wet roads.
Uphill riding technique
- Enter slowly and straight. Begin from a stable stance with the board aligned with the climb. Avoid a hard turn immediately before the steep section.
- Use smooth throttle. Build power progressively instead of snapping to full throttle. Sudden input can break traction on dust or loose material.
- Stay low and centered. Keep both knees flexible and shift only enough weight forward to remain balanced against acceleration and the slope.
- Hold a controllable pace. The goal is a stable climb, not the highest possible speed. Leave room to release the throttle or stop if the route changes.
- Listen and feel. If acceleration fades, the drivetrain sounds unusual, the board vibrates, or the motors and enclosure become unusually hot, stop in a safe place and inspect the system.
- Do not force a stalled climb. Repeatedly applying heavy throttle when the board cannot maintain movement creates load without useful progress. Step off and choose a safer route.

Plan the descent before the climb
Reaching the top is only half of the route. A descent adds speed and reduces the time available to react. Before climbing, confirm that you can control the same hill on the way down or that you have a different safe return route.
Approach descents slowly, keep your knees bent, look ahead and begin braking early. Use progressive input while the board is travelling straight, and avoid combining hard braking with a sharp turn. Do not rely on electronic braking as a parking brake while stopped on a slope.
Beginners should practice repeatable stops on dry, flat, traffic-free pavement first. The OMW beginner braking guide covers body position, progressive braking and stopping-zone drills.
OMW hill-climbing setup examples
The current Cavalry and Hussar product pages list a 40% hill-climbing specification. Treat that figure as a product specification under suitable conditions, not as a promise that every rider can climb every mapped 40% segment. Rider mass, battery state, wheel and pulley configuration, surface, temperature, approach speed and the length of the grade all change the result.
| Model | Current stock setup | Useful context for hills | Setup reminder |
|---|---|---|---|
| OMW Cavalry | 175 mm pneumatic wheels; 864Wh battery | Terrain-focused clearance, rough-road comfort and the larger battery of the two examples | Current 175 mm pneumatic setup uses 55T / 335-5M; 60T acceleration option uses 355-5M |
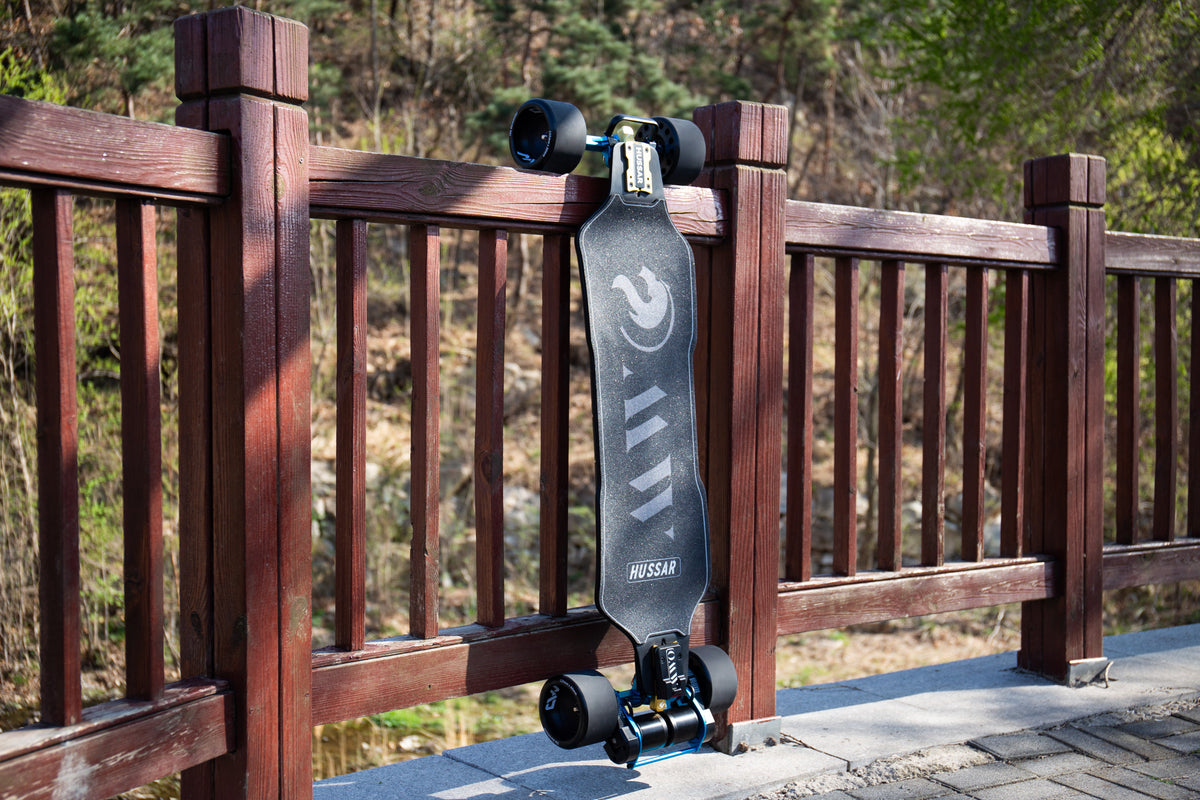
| OMW Hussar | 150 mm pneumatic wheels; 648Wh battery | Lower pneumatic setup with a flexible deck for street, carving and mixed routes | Current 150 mm pneumatic setup uses 55T / 335-5M; 60T acceleration option uses 355-5M |
Choose the board for the whole route, not one impressive number. The OMW five-model buying guide compares board role, range, ride feel and portability across the lineup.
Electric skateboard hill climbing FAQ
Can an electric skateboard climb a steep hill?
A suitably configured board can climb steep paved grades, but there is no universal result. Check the manufacturer's current specification, then account for rider-plus-board mass, grade length, battery state, wheels, gearing, surface and temperature. Start on a gentler hill and increase difficulty only after both climbing and braking are controlled.
Are bigger wheels better for hills?
Not automatically. Bigger wheels improve clearance and rollover, but they also change effective gearing. A complete matched wheel, pulley and belt setup matters more than diameter alone.
Does a larger wheel pulley help uphill?
A larger wheel pulley increases the drive ratio and can provide more low-speed mechanical advantage, usually with a top-speed tradeoff. Use only the pulley, belt and settings specified for your board and wheel configuration.
Why does my board slow down on a long climb?
The load may exceed what the current battery state, gearing, temperature, traction or drivetrain condition can sustain. Do not continue forcing the board. Stop safely, allow the system to cool if needed and inspect the wheels, pressure, belts and pulleys before deciding whether the route is suitable.
Should I climb with a full battery?
Begin a demanding route with enough charge for the complete trip and a reserve. A full starting charge is not a substitute for route planning: you still need to consider the descent, return distance, wind, temperature and unexpected detours.
Can I climb a wet hill with pneumatic tires?
No. Pneumatic tread does not remove the loss of traction and electrical, bearing and braking risks created by wet conditions. OMW does not recommend riding in rain or on wet roads.
The practical rule
Match the board and drivetrain to the entire route, not the steepest number on a map. Inspect the hill, keep the setup mechanically matched, use smooth input, preserve battery and braking margin, and turn back before a climb becomes a heat, traction or stopping problem.
For broader battery and protective-equipment guidance, see the U.S. Consumer Product Safety Commission Micromobility Information Center. Local laws and riding rules vary, so check the requirements for your route.