


To brake on an electric skateboard, first release the throttle, keep your knees bent, shift your weight slightly toward the rear of the board and apply the remote brake progressively. Practice at low speed on dry, flat, traffic-free pavement until you can stop inside a chosen zone without locking your legs, panicking or jumping off.
Electric skateboard braking is a balance skill as much as a remote-control skill. The brake changes the board’s speed, but your stance keeps the deceleration from pulling your upper body forward.
The basic electric skateboard braking sequence
- Look ahead. Identify where you want to slow down or stop before you reach it.
- Release acceleration. Give your body a moment to settle instead of moving directly from strong acceleration to strong braking.
- Lower your center of mass. Keep both knees soft and avoid standing rigidly upright.
- Shift slightly rearward. Move enough weight toward the rear to resist the forward pull, without leaning dramatically or straightening the front leg.
- Apply the brake progressively. Start gently, then add braking force as needed while keeping the board aligned.
- Stay balanced after stopping. Keep the brake controlled until the board has stopped, then step off deliberately.
Do not snap the brake control to maximum during early practice. Abrupt input can create a sudden weight shift and may cause the wheels to lose traction on loose or slippery surfaces.
Body position: what your feet, knees and shoulders should do
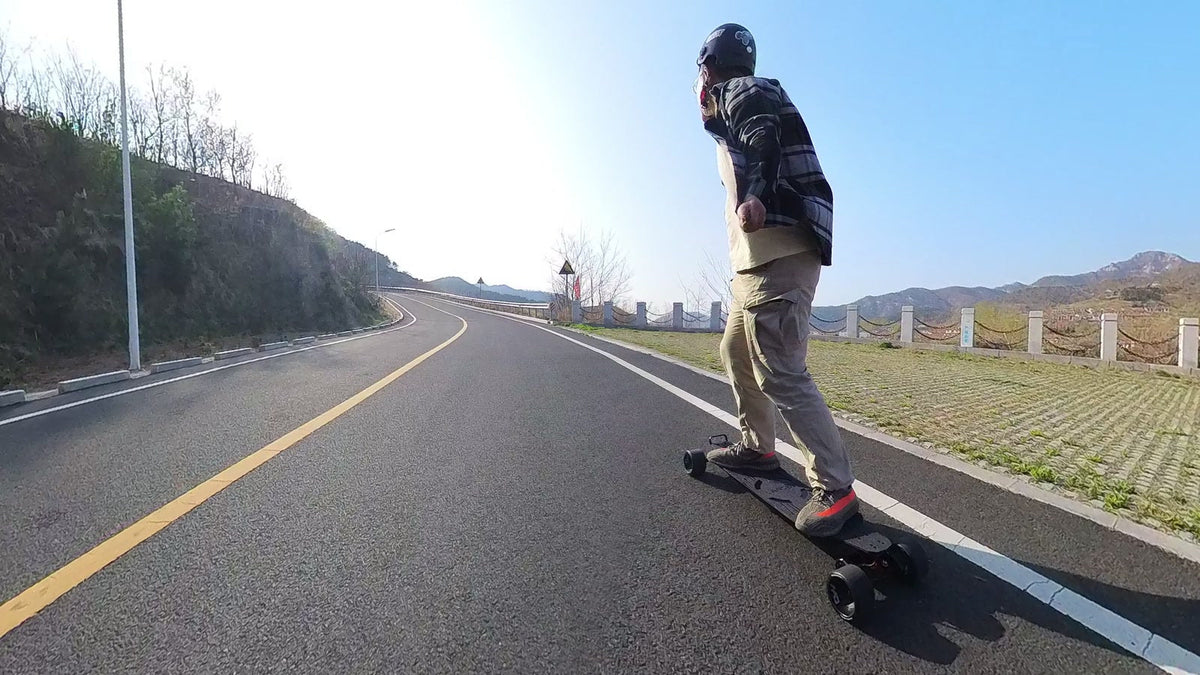
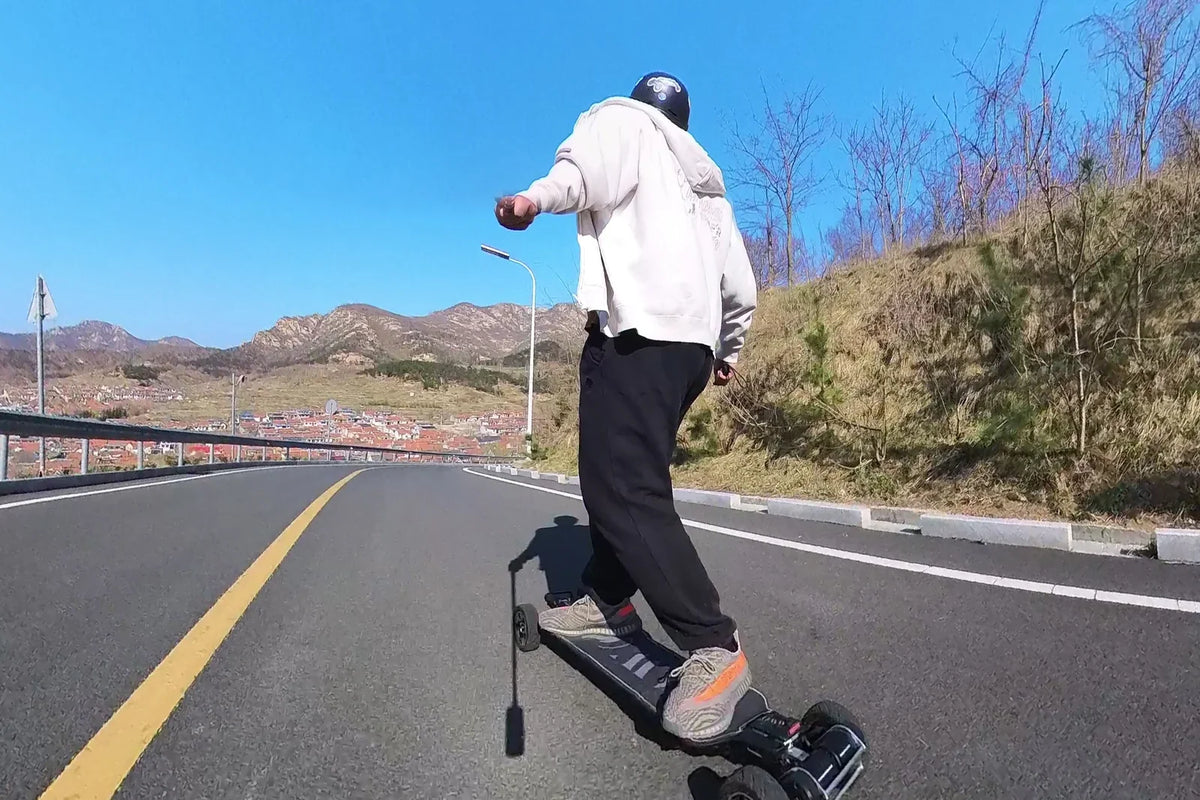
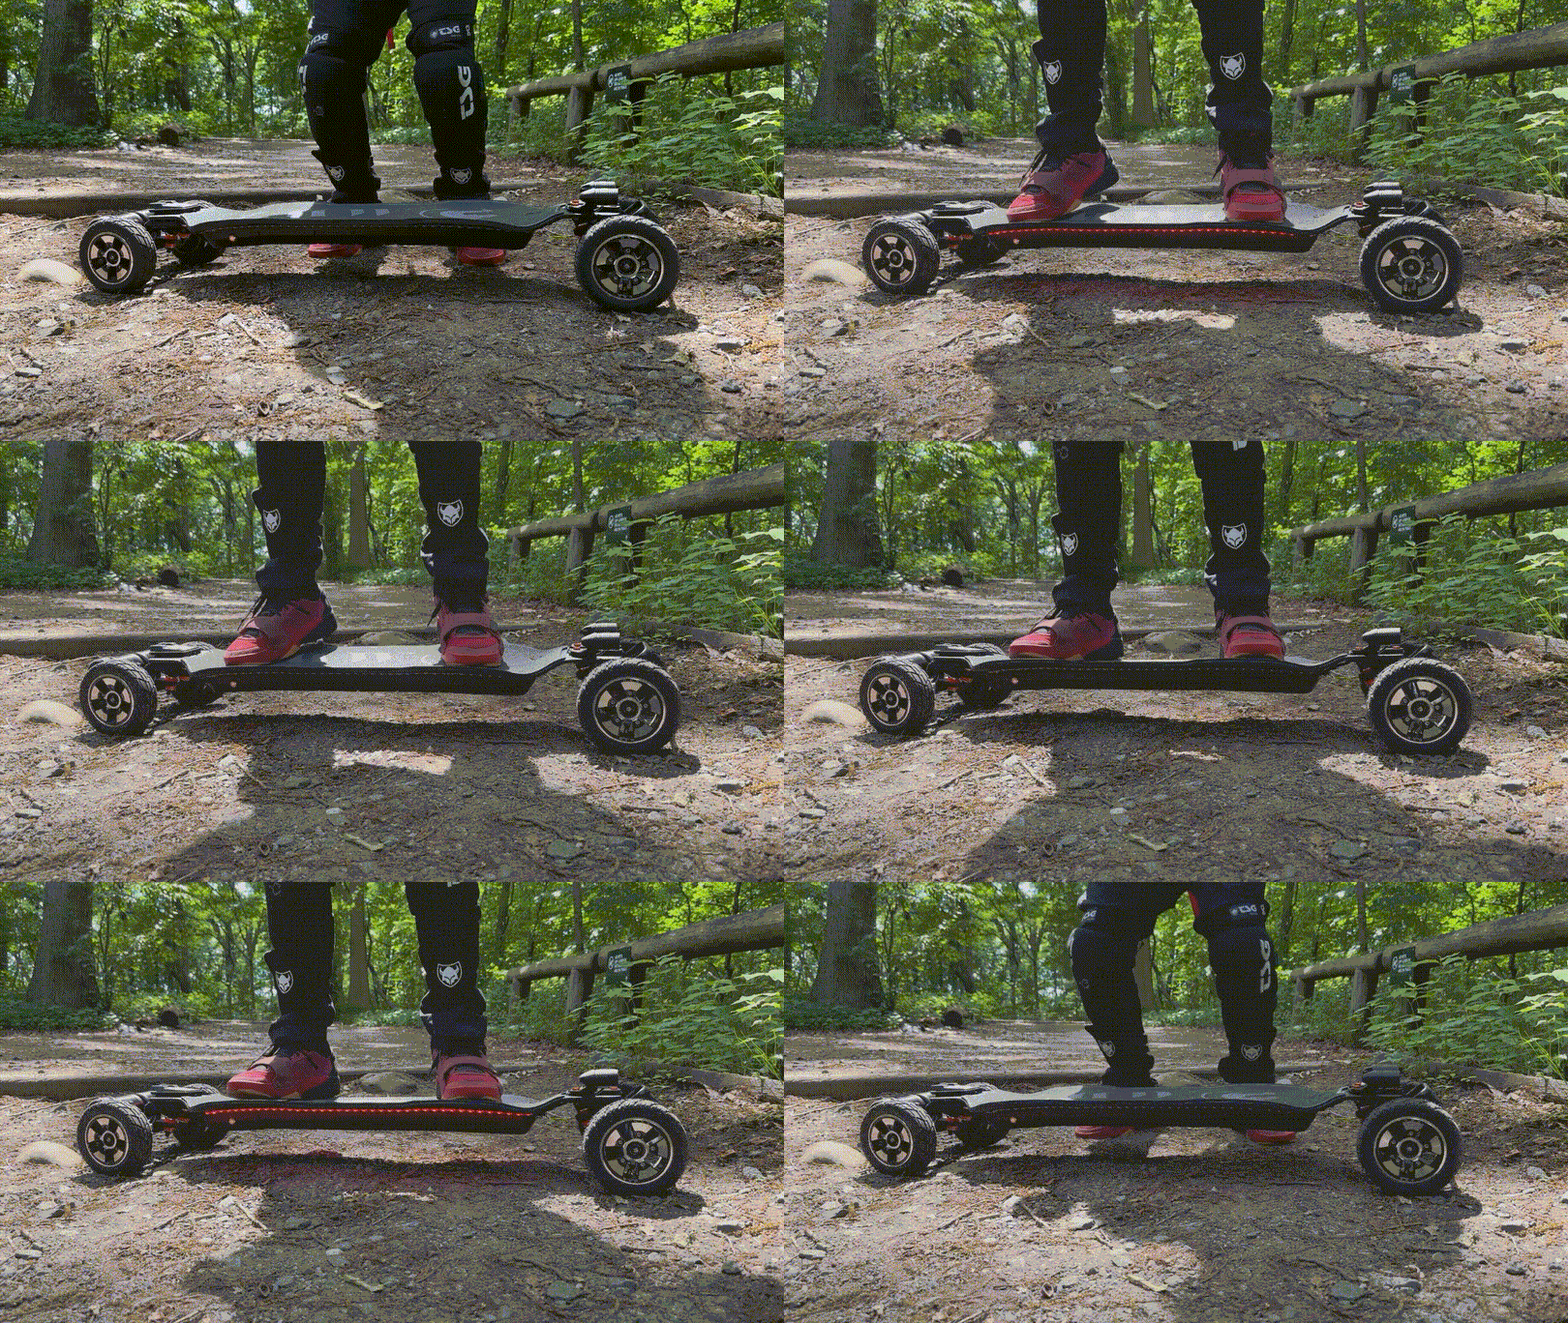
Use a comfortable stance with the front foot near the front truck area and the rear foot placed far enough back to support the braking shift. Keep both feet planted, both knees flexible and your shoulders roughly aligned with the board.
As braking begins:
- Let the hips move slightly rearward.
- Keep the chest controlled rather than folding sharply at the waist.
- Maintain pressure through both feet instead of lifting the front foot.
- Look toward the stopping area, not down at the remote or wheels.
The shift should be proportional to the braking force. A gentle low-speed stop needs only a small adjustment. Stronger deceleration requires a lower, more prepared stance.
A beginner braking drill you can repeat
Choose a dry, level practice area away from vehicles, bicycles and pedestrians. Wear a properly fitted helmet and suitable protective equipment. Set the board to the lowest suitable riding mode and confirm that the board and remote are paired and charged.
- Mark a start line and a wide stopping zone.
- Accelerate only to walking pace.
- Release the throttle before the stopping zone.
- Apply a small, progressive brake input.
- Repeat until you can stop calmly inside the zone.
- Move the start line slightly farther away and repeat at another low speed.
Do not reduce the stopping zone to prove how quickly the board can stop. The purpose is to make your response repeatable. Record where braking begins and where the board stops so you can see how speed changes the distance.
The OMW first-time rider safety guide covers protective equipment, pre-ride checks and conservative practice habits.
What changes electric skateboard stopping distance?
There is no universal electric skateboard stopping distance. It changes with the complete rider, board and route.
| Factor | Why it matters | Beginner response |
|---|---|---|
| Speed | More speed requires more distance and stronger body control | Increase speed only after low-speed stops are repeatable |
| Rider weight and stance | More combined mass and a rigid stance can make deceleration harder to manage | Leave more margin and keep the knees flexible |
| Slope | A descent adds speed and load while reducing the available margin | Practice on flat ground before any hill |
| Surface | Dust, gravel, leaves, paint lines and moisture reduce predictable traction | Slow down before the surface changes |
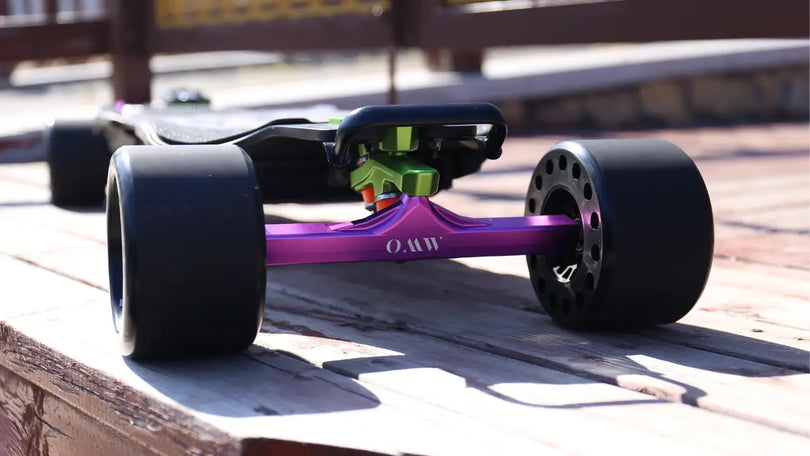
| Wheels and pressure | Contact patch, compound, wear and pneumatic pressure affect grip and feel | Use the correct setup and inspect it before practice |
| Battery and system condition | Braking response may not feel identical in every state or condition | Test gently at the start of every ride |

The OMW wheel guide explains the ride-feel and setup differences between street and pneumatic options.
Street wheels and pneumatic wheels do not brake the same way
Street wheels give a direct connection to smooth pavement and can feel precise when the surface is clean. Pneumatic wheels add compliance on rougher roads, but tire pressure and tire condition become part of the braking setup.
Neither type guarantees more stopping grip in every situation. Dust, loose gravel, painted lines, wet leaves and worn components can change traction quickly. Practice on the exact wheel setup you plan to ride.

How to brake before a turn
Do most of your slowing while the board is still travelling in a straight line. Enter the turn at a speed you can manage, keep the knees soft and use a smooth line through the corner.
Heavy braking while turning asks the wheels to slow and change direction at the same time. On a low-grip surface, that can make sliding more likely. Beginners should separate the actions: slow first, then turn.
How to control speed on a hill
Do not start down a hill that exceeds your practiced braking ability. Before any descent:
- Inspect the surface and identify a safe stopping point.
- Approach slowly rather than entering the hill with speed.
- Use controlled braking early instead of waiting until the bottom.
- Keep an escape margin for pedestrians, driveways and unexpected obstacles.
- Dismount before the slope if you are not confident you can control it.
Electronic braking is not a parking brake. Do not stand stationary on a slope and assume the board will hold you indefinitely.
What to do in an unexpected stop
If an obstacle appears, look toward the safest open path, lower your stance and apply the brake firmly but progressively. Keep the board as straight as the situation allows and avoid locking your knees.
Jumping or running off at speed can cause serious injury and should not be your default stopping method. The best emergency response is created before the emergency: lower speed, more following distance, earlier scanning and a practiced brake movement.
Common braking mistakes
- Waiting until the stopping point to brake. Begin slowing before it and preserve a margin.
- Pulling the brake abruptly. Build force progressively so your stance can match the deceleration.
- Standing with locked knees. A rigid body is easier to pitch forward.
- Looking at the remote. Learn the control while stationary so your eyes can stay on the route.
- Practicing only one speed. Repeat controlled stops from several low speeds before riding faster.
- Testing on loose or wet pavement. Learn on a dry, clean surface with predictable traction.
- Assuming every setup stops the same way. Relearn the feel after changing wheels, gearing, remote settings or other components.
Pre-ride checks that affect braking
Before riding, check the wheels, tires, trucks, belts, visible fasteners, deck and remote. Confirm that the remote is paired and test gentle acceleration and braking at very low speed.
After changing wheels, update the required remote or app settings for the complete setup. The OMW Video Guide Library contains model-specific setup and maintenance instructions.
If braking feels different, noisy, delayed or inconsistent, stop riding and inspect the board. Do not try to diagnose an unfamiliar response by riding faster.
Frequently asked questions
Should I lean backward when braking an electric skateboard?
Shift your weight slightly rearward and lower your stance, but do not throw your shoulders far behind the board. The goal is to counter the forward pull while keeping both feet connected and both knees flexible.
Why does my electric skateboard feel like it brakes differently sometimes?
Speed, slope, rider weight, surface, wheels, tire pressure, battery state, settings and system condition can all change the feel. Test the brake gently at the start of every ride and after any setup change.
Can electric skateboard wheels skid under braking?
They can lose traction if braking demand exceeds the available grip, especially on dust, gravel, wet surfaces or painted markings. Slow down before low-grip areas and avoid abrupt braking while turning.
Can I use the brake to stay stopped on a hill?
Do not rely on electronic braking as a parking brake. Step off and secure the board instead of expecting it to hold a stationary position on a slope.
Can I practice braking on a wet road?
No. OMW does not recommend riding in rain or on wet roads. Practice on dry, clean pavement where traction and stopping behavior are more predictable.
When are you ready to ride beyond the practice area?
Move to a quiet, familiar route only when you can start smoothly, stop inside a planned zone from several low speeds, turn in both directions and identify surface hazards early. Continue wearing protective equipment and leave more distance than you think you need.
For broader safety guidance, visit the U.S. Consumer Product Safety Commission Micromobility Information Center. Local laws and riding rules vary, so check the requirements for your route before riding.