



The simplest way to learn electric skateboarding is to divide the process into seven short, controlled practice rides. Start on dry, flat, traffic-free pavement, use the lowest available riding mode, and repeat any session until starting, turning and braking feel predictable. The goal is not to reach a certain speed in seven rides. It is to build a sequence of habits you can repeat without panic.
This guide focuses on the first skills a new rider needs: stance, remote control, smooth acceleration, progressive braking, wide turns, surface awareness and a short real-world route. Wear a properly fitted helmet and suitable protective gear every time you practice.
What you should learn in your first seven rides
| Practice ride | Main skill | Move on when... |
|---|---|---|
| Ride 1 | Stance and remote familiarity | You can stand relaxed and operate the remote without looking down. |
| Ride 2 | Smooth starts and stops | You can start gently and stop inside a chosen practice zone. |
| Ride 3 | Wide turns in both directions | Left and right turns feel controlled rather than forced. |
| Ride 4 | Progressive braking | You can slow down smoothly from several low practice speeds. |
| Ride 5 | Looking ahead and reading surfaces | You notice hazards early and adjust before reaching them. |
| Ride 6 | Quiet-route simulation | You can combine starts, turns and stops without rushing. |
| Ride 7 | A short, familiar route | You finish with control and enough battery margin to return. |
Seven rides is a learning structure, not a deadline. If one session still feels inconsistent, repeat it before adding speed, hills, traffic or rougher surfaces.

Before Ride 1: choose the right practice space
Use an open area with dry, clean and level pavement. It should be away from cars, bicycles, pedestrians, steep slopes, loose gravel and standing water. Check local riding rules before using public roads or paths.
Before every practice session:
- Wear a properly fitted helmet and suitable protective gear.
- Check the deck, trucks, wheels, belts and visible fasteners.
- Confirm that the board and remote have enough charge.
- Make sure the remote is paired and set to the lowest available riding mode.
- Test acceleration and braking at very low speed before riding farther.
If anything feels loose, damaged or different from the previous ride, stop and inspect it before continuing. The OMW Video Guide Library includes model-specific setup and maintenance videos.
Ride 1: find your stance and learn the remote
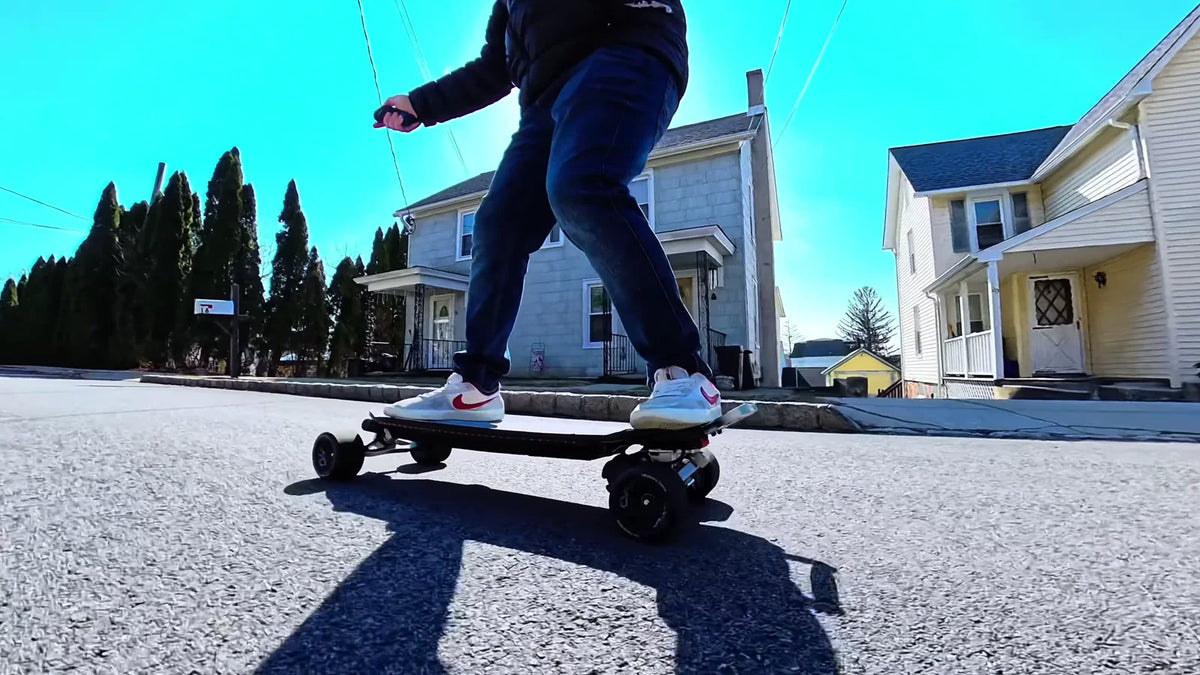
With the board switched off, decide whether your left foot or right foot naturally feels better in front. Place your front foot near the front truck area, keep both knees soft and let your shoulders face roughly along the board rather than twisting your upper body.
Practice stepping on and off while holding a stable support if needed. Keep your eyes forward instead of staring at the wheels. Then learn the remote controls while stationary: power, mode selection, acceleration direction and braking direction. You should be able to find the brake without looking at the remote.
For the first powered movement, use a light push from your rear foot before applying a very small amount of throttle. This reduces the sudden weight shift that surprises many first-time riders.
Ride 2: make every start and stop smooth
Use two visible points on the pavement: a start line and a stopping zone. Accelerate gradually, coast briefly, then apply the brake smoothly. Repeat at walking pace until you can stop inside the chosen zone without jumping off.
During acceleration, keep your center of mass slightly forward and your knees flexible. During braking, shift your weight slightly rearward without locking your legs or leaning dramatically. Smooth remote input matters more than strength.
Do not chase speed. A rider who can start and stop predictably at low speed has a stronger foundation than a rider who can accelerate quickly but cannot control the stopping distance.
Ride 3: practice wide turns in both directions
Set up a large oval or figure-eight pattern. Look toward the exit of the turn, keep your knees relaxed and use gentle pressure through your feet. Start with wide arcs; tight carving can wait.
Most beginners have one comfortable turning direction and one weaker direction. Give both sides equal practice. If the board feels too eager to turn or too difficult to steer, stop and check the truck setup rather than trying to overcome it with speed.
Ride 4: learn progressive braking
Repeat your stopping exercise from several low, controlled speeds. Apply the brake progressively rather than snapping the control to maximum. Notice how rider weight, speed, slope, wheels and pavement affect stopping distance.
Practice slowing down before the stopping point, not at it. This teaches you to create a safety margin. Electric braking can feel different as battery level, speed and riding conditions change, so do not treat one successful stop as proof that every stop will be identical.
Ride 5: look farther ahead and read the surface
Begin scanning farther ahead for cracks, gravel, leaves, drainage covers, bumps, driveways, pedestrians and surface changes. Make decisions early: slow down, change your line or stop before the hazard.
Stay on dry, predictable pavement while learning. Rough paths and larger obstacles require more experience, even when the board uses pneumatic wheels. Wheel size can improve comfort and roll-over ability, but it does not replace speed control or good judgment.

Ride 6: combine the skills in a quiet-route simulation
Create a short loop in your practice area. Include a start, two wide turns, a slow zone, a complete stop and a restart. Treat imaginary driveways and intersections as places where you must look, reduce speed and be ready to stop.
This session is about decision-making, not distance. Keep enough room around other people and never assume they can hear or predict an electric skateboard. If your attention becomes overloaded, return to a simpler drill.
Ride 7: take a short, familiar real-world route
Choose a route you already know, in daylight and in dry conditions. Avoid steep hills, busy roads, unfamiliar construction and rough shortcuts. Keep the route short enough that you have generous battery margin for the return trip.
Use the same sequence you practiced: look ahead, accelerate smoothly, slow before hazards, turn within your ability and leave space to stop. If the route demands a skill you have not practiced, walk the board through that section.
Beginner readiness checklist
Before adding speed, hills or longer routes, you should be able to answer yes to all of these:
- I can operate the remote without looking down.
- I can start gently without being pulled backward.
- I can brake progressively without locking my knees.
- I can make wide left and right turns at low speed.
- I look ahead and notice surface hazards early.
- I can stop before a chosen line with room to spare.
- I know when to step off, stop or walk a difficult section.
If one answer is no, repeat the relevant practice ride. Progress is measured by consistency, not by the number on the speed display.
Five common beginner mistakes
- Using too much throttle. Small remote movements create smoother weight transfer.
- Looking at the board. Looking ahead gives you more time to respond.
- Standing with locked knees. Soft knees help absorb vibration and maintain balance.
- Learning on a difficult surface. Begin on dry, flat, clean pavement before progressing.
- Adding speed before mastering braking. Your comfortable cruising speed should stay below the speed from which you can stop predictably.
Frequently asked questions
How long does it take to learn an electric skateboard?
There is no universal number of hours or rides. Previous board-sport experience, coordination, practice conditions and the board setup all matter. Use the seven rides as a sequence and repeat each stage until it feels controlled.
Which speed mode should a beginner use?
Use the lowest available riding mode while learning. Move up only after starts, turns and braking are repeatable and predictable.
Should a beginner start with street wheels or pneumatic wheels?
Both can work, but the practice surface and board setup matter more than wheel size alone. Street wheels give direct road feedback, while pneumatic wheels can absorb more vibration. Whichever setup you use, begin on clean, dry and level pavement.
Can I practice in the rain?
No. Wet surfaces reduce traction and increase stopping uncertainty, while water exposure can also affect electrical and mechanical components. Wait for dry conditions.
Should I learn braking before turning?
Learn a controlled start and stop first, then add wide turns. Braking remains part of every later session.
Choose a board that supports the way you want to learn
A beginner-friendly setup should match your weight, route, surface and portability needs. The OMW beginner electric skateboard guide explains the main comfort and control considerations. To compare the current OMW models by use case, see Which OMW Electric Skateboard Is Right for You?
For a broader pre-ride reminder, read 10 Essential Safety Tips for First-Time Electric Skateboard Riders. The U.S. Consumer Product Safety Commission also maintains general micromobility safety guidance.