
Why Go the DIY Route for Your Electric Skateboard?
While pre-built electric skateboards offer convenience, the DIY electric skateboard has some compelling advantages:
- Customization: Tailor every component to your specific needs and preferences – from the deck and trucks to the motor and battery.
- Cost-Effectiveness (Potentially): Depending on your component choices, you might save money compared to high-end pre-built E-boards.
- Learning Experience: Gain valuable knowledge about electronics, mechanics, and the inner workings of the electric skateboard.
- Uniqueness: Create a one-of-a-kind Electric skateboard that reflects your personal style.

Key Components You'll Need for Your DIY Electric Skateboard:
Building a DIY electric skateboard involves several essential parts:
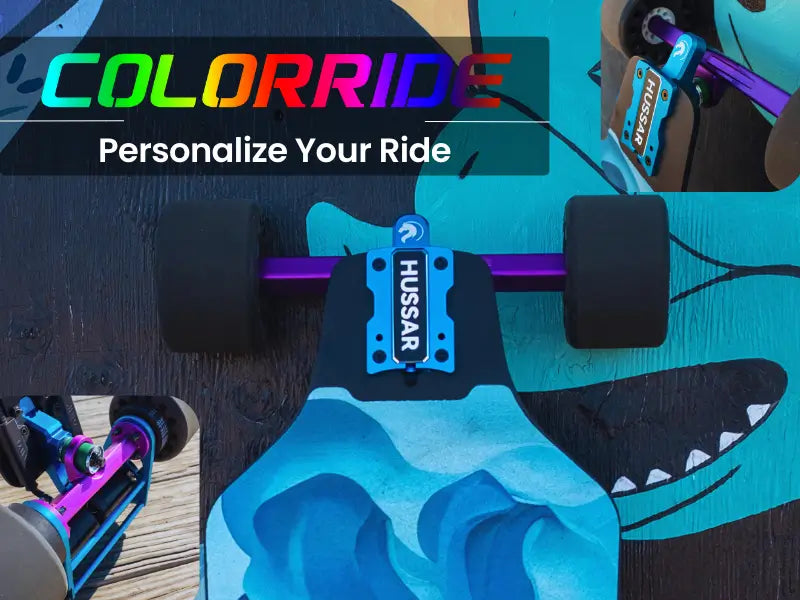
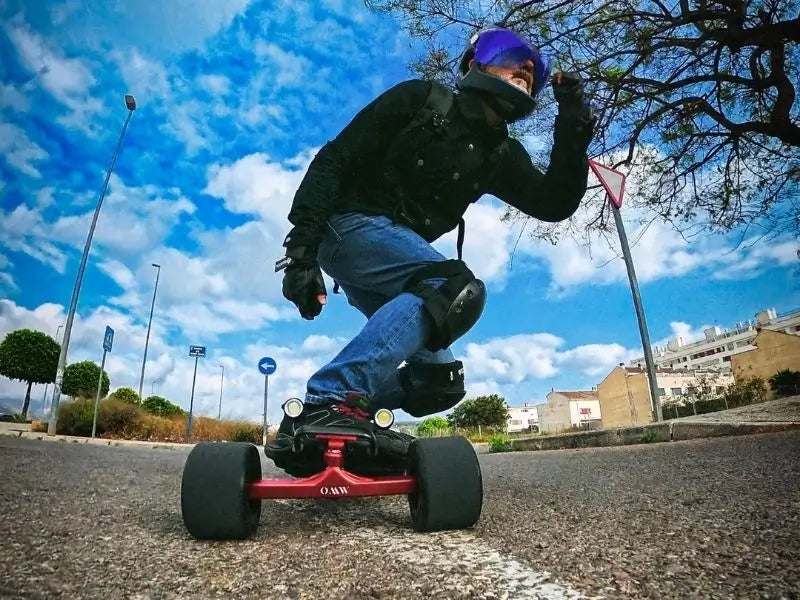
- Deck: The deck is the base for an E-skateboard. Longer decks provide more stability, while more flexible decks provide comfort, such as OMW carbon fiber deck, flexible, durable, and comfortable, often enhancing the carving experience and absorbing road vibrations for a smoother ride.
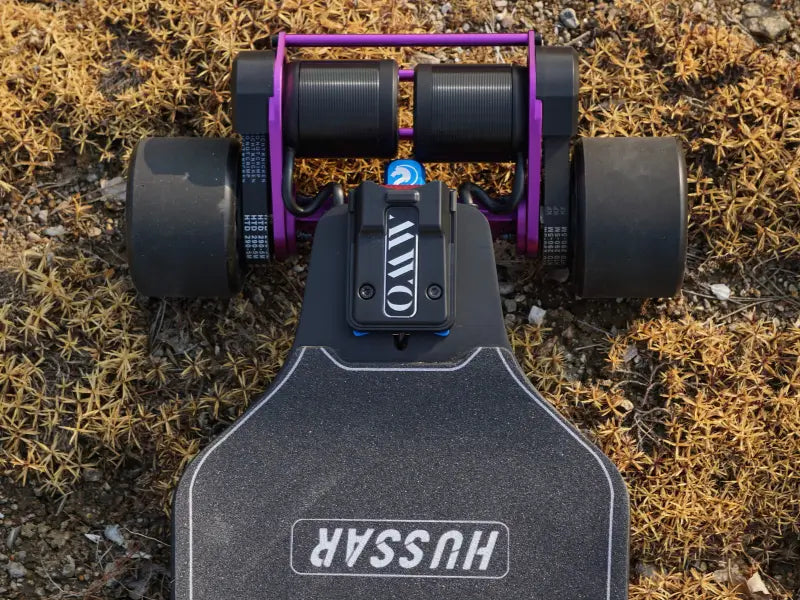
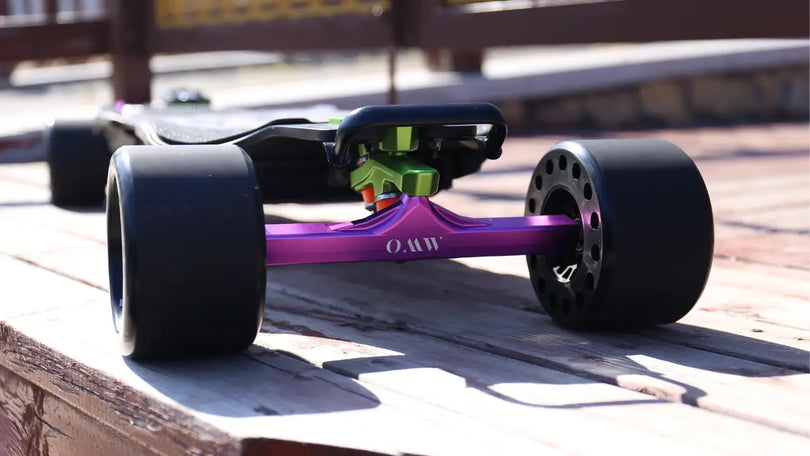
- Trucks: Crucial for ride quality, selecting the right trucks depends on your skateboarding goals, riding terrain, preferred feel, and whether you're opting for a DIY setup. Factors like truck width, hanger size, and baseplate angle significantly influence stability, turning responsiveness, and overall control.
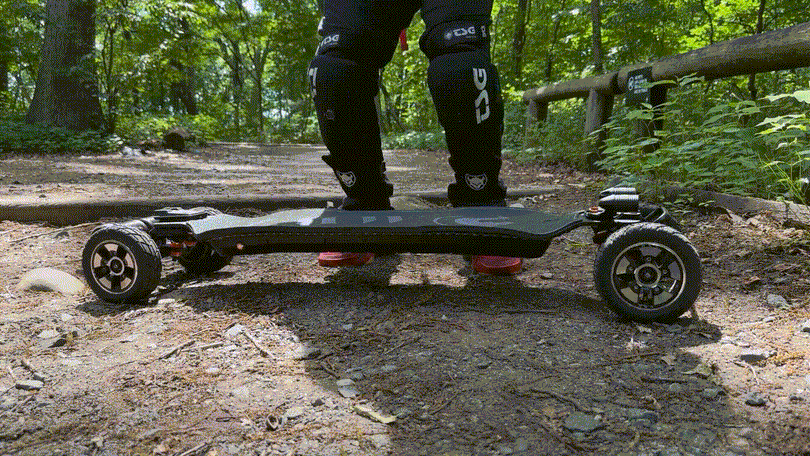
- Wheels: Larger wheels roll more smoothly over rough terrain, offering better momentum and obstacle clearance, while smaller wheels provide quicker acceleration and a lower center of gravity, often preferred for technical tricks and smoother surfaces. The hardness of the wheel also plays a significant role, with softer wheels providing more grip and a smoother ride, and harder wheels offering better slide and roll speed on smooth surfaces.
- Motor: Electric hub motors, belt-drive motors, and gear-drive motors are common choices. Consider power, efficiency, and mounting options.
- Battery: Lithium-ion batteries are typically used for their energy density. You'll need to consider voltage and capacity (Ah). Many DIY builders source individual cells or pre-built packs using cells from reputable manufacturers like Molicel and Samsung. Molicel is known for high-performance cells with good power and capacity (e.g., P42A). Samsung offers a range of reliable cells with various capacities and discharge rates (e.g., 30Q, 50S).
- Electronic Speed Controller (ESC): For your DIY electric skateboard project, the ESC is a crucial component that dictates how the motor behaves in response to your remote control inputs. Here are some popular types in the market. Such as VESC (Vedder Electronic Speed Controller), which is an open-source project that provides a highly customizable and powerful platform for controlling brushless DC motors. ESCs based on VESC firmware are very popular in the DIY community due to their flexibility. Here are some popular brands and models like Flipsky Dual FSESC 6.6, MakerX’s DV6 series, and Stormcore 60D, etc. The other type is Hobbywing ESCs. Hobbywing is a well-established brand in the RC world and makes ESCs specifically for electric skateboards, known for smooth acceleration and braking.
- Remote Control: For wireless control of your speed and braking.
Optional upgrades include lights, smart displays, and mounting hardware etc.

The DIY Electric Skateboard Building Process (Overview):
A great way to start your DIY journey is by electrifying an existing skateboard or upgrading your old electric skateboard. This can simplify the initial build and allow you to focus on the electrical components. We don't recommend starting completely from scratch for your very first DIY electric skateboard project.
- Planning and Component Selection: Research and choose the components that fit your budget and performance goals.
- Mount Trucks and Wheels: Attach the trucks and wheels to the deck of the DIY Electric skateboard like a traditional longboard.
- Motor Mounting: Secure the motor(s) to the trucks or wheels.
- Battery and ESC Enclosure: House the battery and ESC safely and securely.
- Wiring: Connect the battery, ESC, and motor according to their specifications.
- Remote Control Pairing: Link the remote to the ESC.
- Testing: Carefully test the board in a safe environment.
- Ride and Tweak: Adjust settings via ESC software for performance and safety.
Tips for Your DIY Electric Skateboard Project:
- Do Your Research: Thoroughly understand each component and how they interact.
- Safety First: Prioritize safety in your design and construction. Consider fuses and proper wiring.
- Start Simple: If you're a beginner, consider a simpler single-motor setup.
- Join Online Communities: Connect with other DIY enthusiasts for advice and support.

Ready to Roll?
Ready to take your DIY electric skateboard journey to the next level? Now that you have a foundational understanding of the key components and the overall building process, we'll be diving deeper into each part in upcoming posts.
Stay tuned as we explore:
- The nuances of deck selection, from materials to shapes and their impact on your ride.
- A closer look at trucks, understanding how different designs affect carving and stability.
- The world of wheels, and how size and durometer influence your experience on various terrains.
- An in-depth comparison of hub motors vs. belt-drive motors, weighing their pros and cons.
- Everything you need to know about batteries, including voltage, capacity, and safety considerations.
- Demystifying the Electronic Speed Controller (ESC) and its crucial role in performance.
- Choosing the right remote control for seamless and safe operation.
Get ready to roll up your sleeves and get into the specifics! Which component are you most excited to learn more about first?